How to Seal Mylar Bags With an Iron
Quick Answer Flexible packaging film can be a useful packaging option only when its role is defined in a complete pack structure and checked against the...

Quick answer
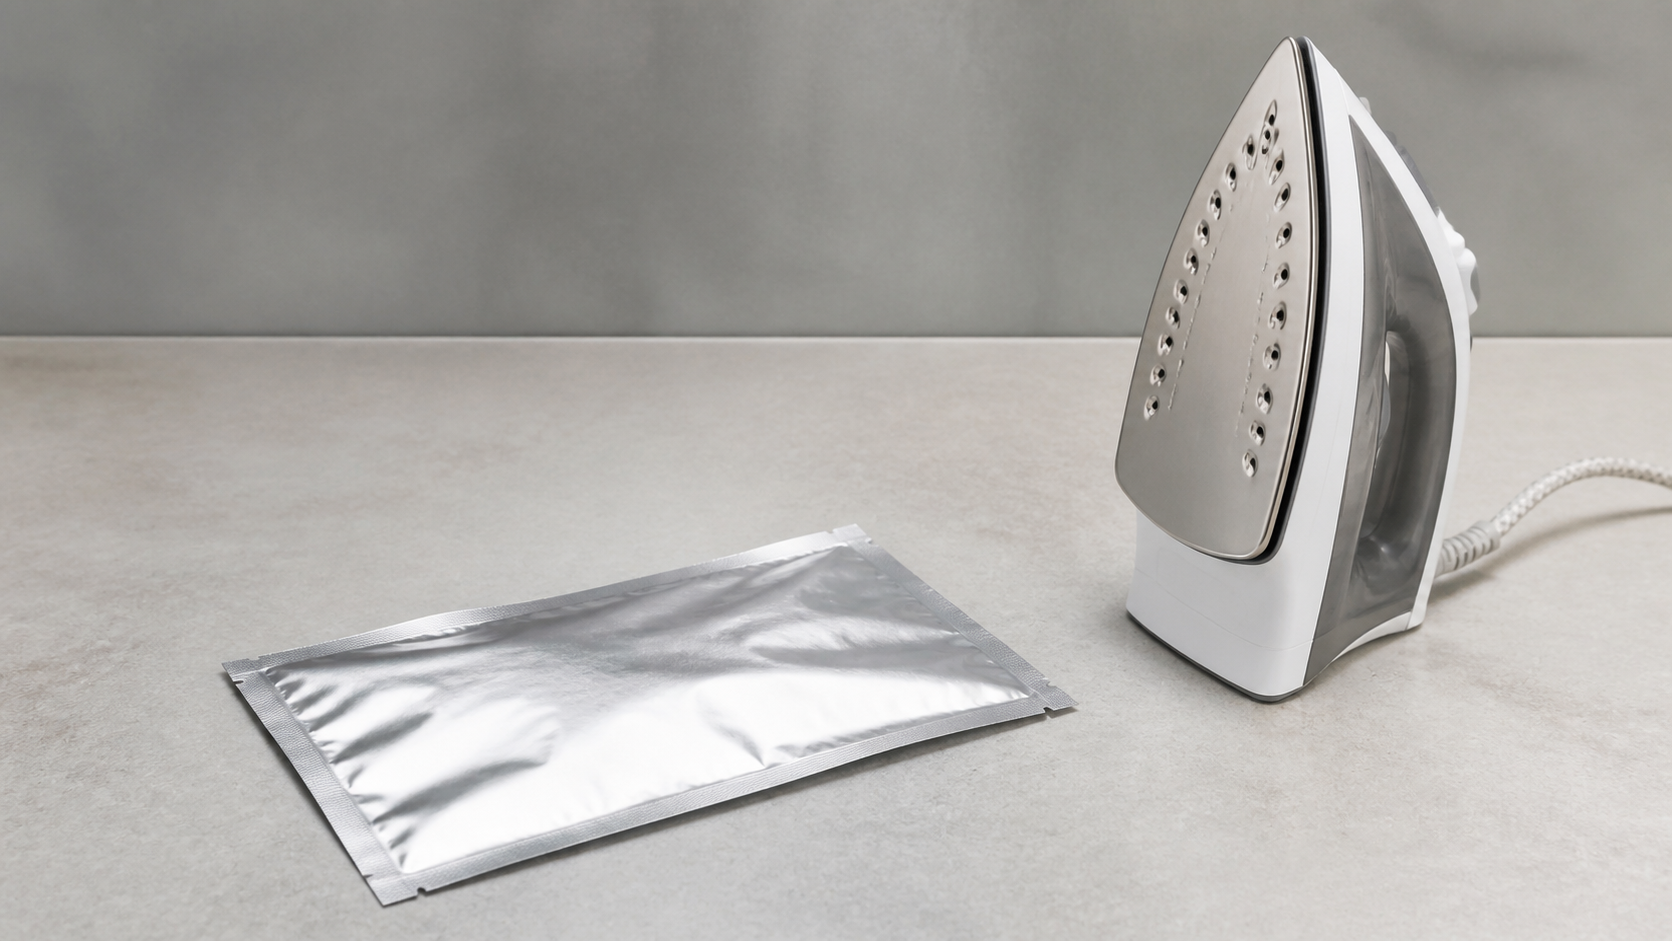
You can use an iron only if the bag is a heat-sealable pouch with a sealant layer intended to bond under heat and pressure. “Mylar” is often used loosely for a foil-laminate or metallized pouch, but appearance alone does not confirm that it can be heat sealed, which side seals, or what setting is appropriate. Start with the bag supplier’s instructions. If they allow an iron, make a small empty trial seal, inspect it, and adjust only within the supplier’s guidance.
An impulse sealer is usually easier to control for repeated packaging work. An iron can be a practical contingency tool for a compatible pouch, but it adds variation in temperature, contact time, pressure and seam width. Do not claim a pouch is airtight, food-safe or suitable for long-term storage merely because an iron made a seam.
Confirm what bag you actually have

The first question is not “what iron setting should I use?” It is “is this exact pouch designed to seal with heat?” A shiny bag may be a foil laminate, a metallized film, a decorative pouch, a resealable bag or a structure whose sealant layer is on one side only. Some bags have a zipper plus a separate heat-seal area; the zipper is not automatically a validated long-term seal.
Check the supplier listing, specification, instructions or current technical documentation for:
- whether the pouch is heat sealable;
- which edge or layer is intended to seal;
- recommended equipment, settings or trial guidance;
- whether the pouch is supplied for direct food contact in your target market;
- filling, headspace and product restrictions;
- any limitations on oxygen absorbers, powders, liquids or storage use.
The local CHALVO TDS library did not contain a directly applicable Mylar-bag or iron-sealing document. That means no temperature, dwell-time, barrier, food-contact or shelf-life claim can be inferred here from a general packaging-film data sheet.
Set up a safe, controlled test
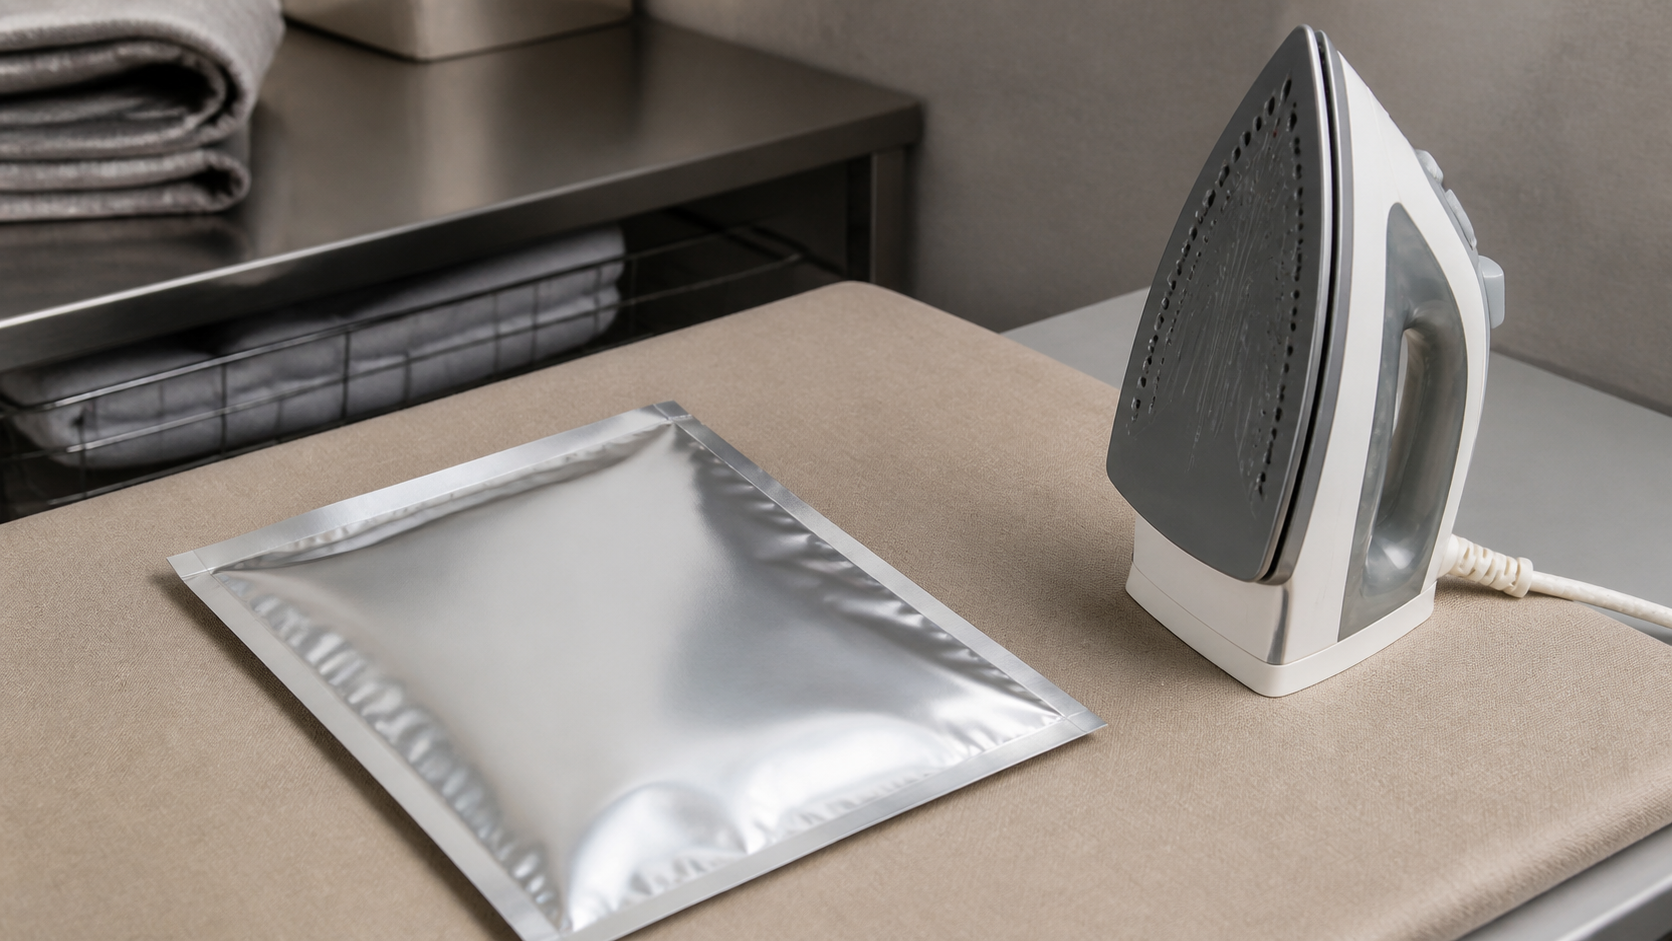
Use the iron according to its own safety instructions. Work on a clean, stable, heat-safe surface away from water, children, loose film and flammable materials. Keep hands clear of the hot soleplate, allow it to cool before storage, and never leave it unattended.
For the pouch test, use an empty offcut or an empty bag of the same construction. Make sure the proposed seal area is flat, dry and free of product, oil, dust, folds and wrinkles. A seal through crumbs, powder or moisture may look closed at first but fail at the contaminated section.
Put a clean, smooth protective layer between the iron and the pouch if the bag supplier instructs it or if the pouch’s surface needs protection. Do not assume that a barrier material changes the correct seal condition; it simply helps avoid direct marking or sticking when the pouch maker recommends such a method. Never heat a pouch that contains a product unless the product, package and process have been specifically reviewed for that use.
Start low, test small and change one variable
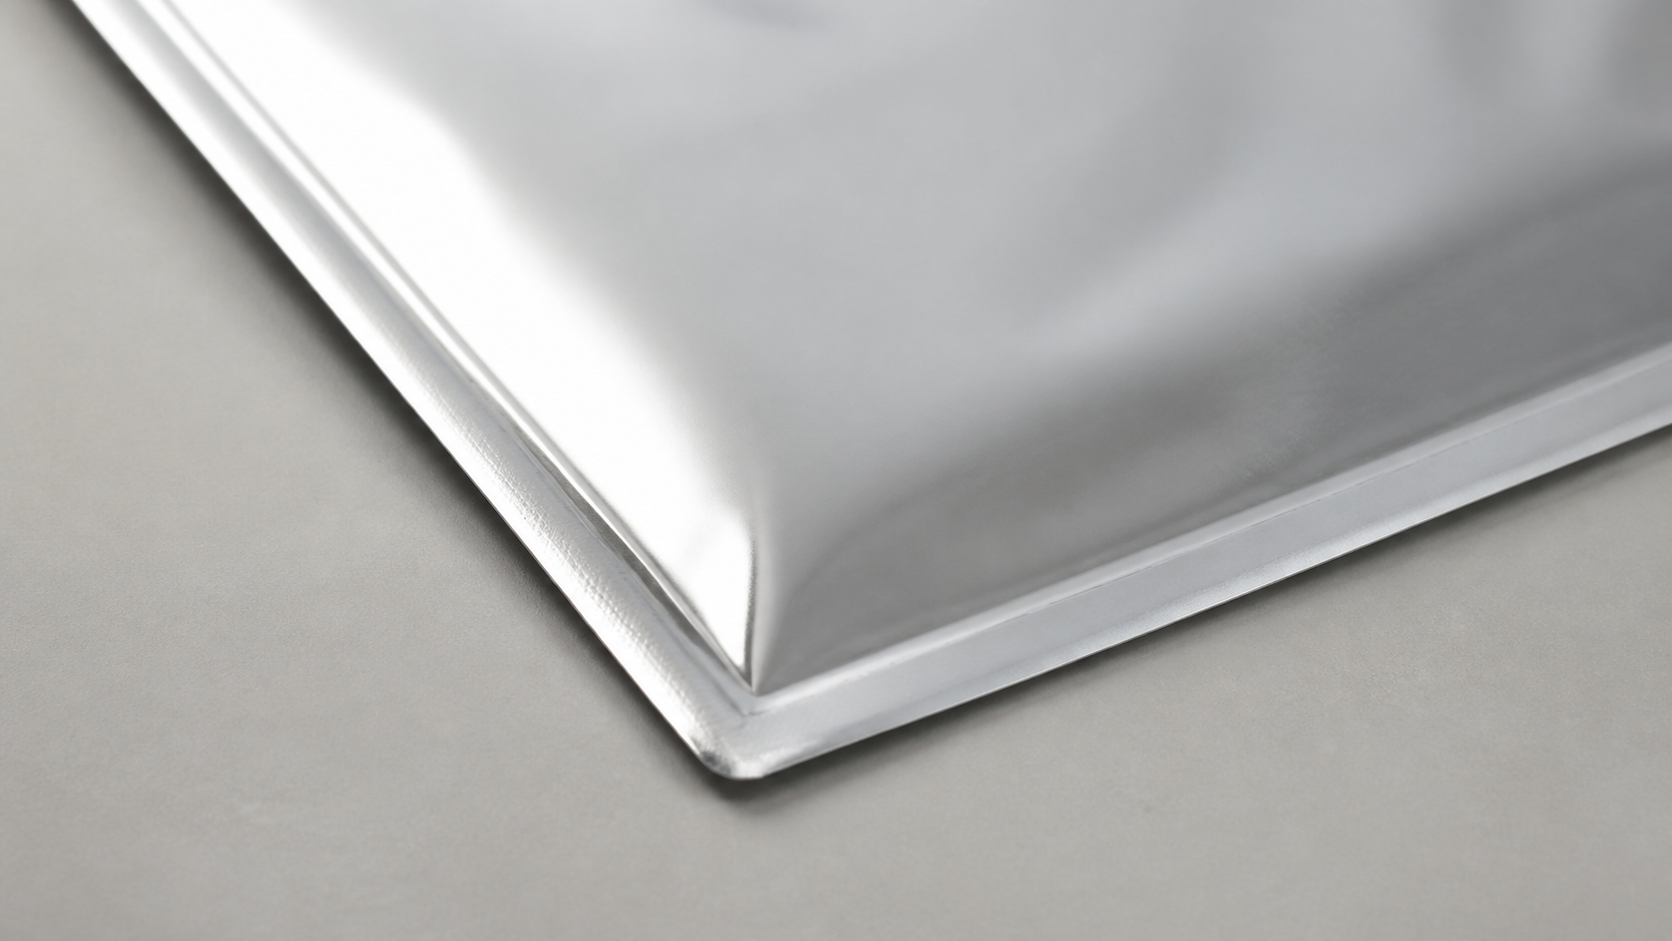
An iron setting is not a universal recipe. The result depends on the sealant resin, laminate construction, pouch thickness, iron temperature, actual contact time, pressure, protective layer and the condition of the seam. A setting copied from an unrelated bag can underseal, distort the structure or create a brittle-looking seam.
Use the pouch supplier’s approved starting point. If only general trial permission is provided, begin conservatively on a small empty sample and make one change at a time. Let the test cool before judging it. Look for a continuous, even seal area without obvious wrinkles, channels, scorched spots, thinning, holes or unbonded sections.
Do not drag the iron back and forth across the seam. That can create inconsistent heat exposure and wrinkle the laminate. A controlled press at one short section at a time is easier to compare, but the exact method must still follow the pouch maker’s instructions. If the bag or the test seam shows damage, stop rather than increasing heat or pressure repeatedly.
Inspect the seam before you package product
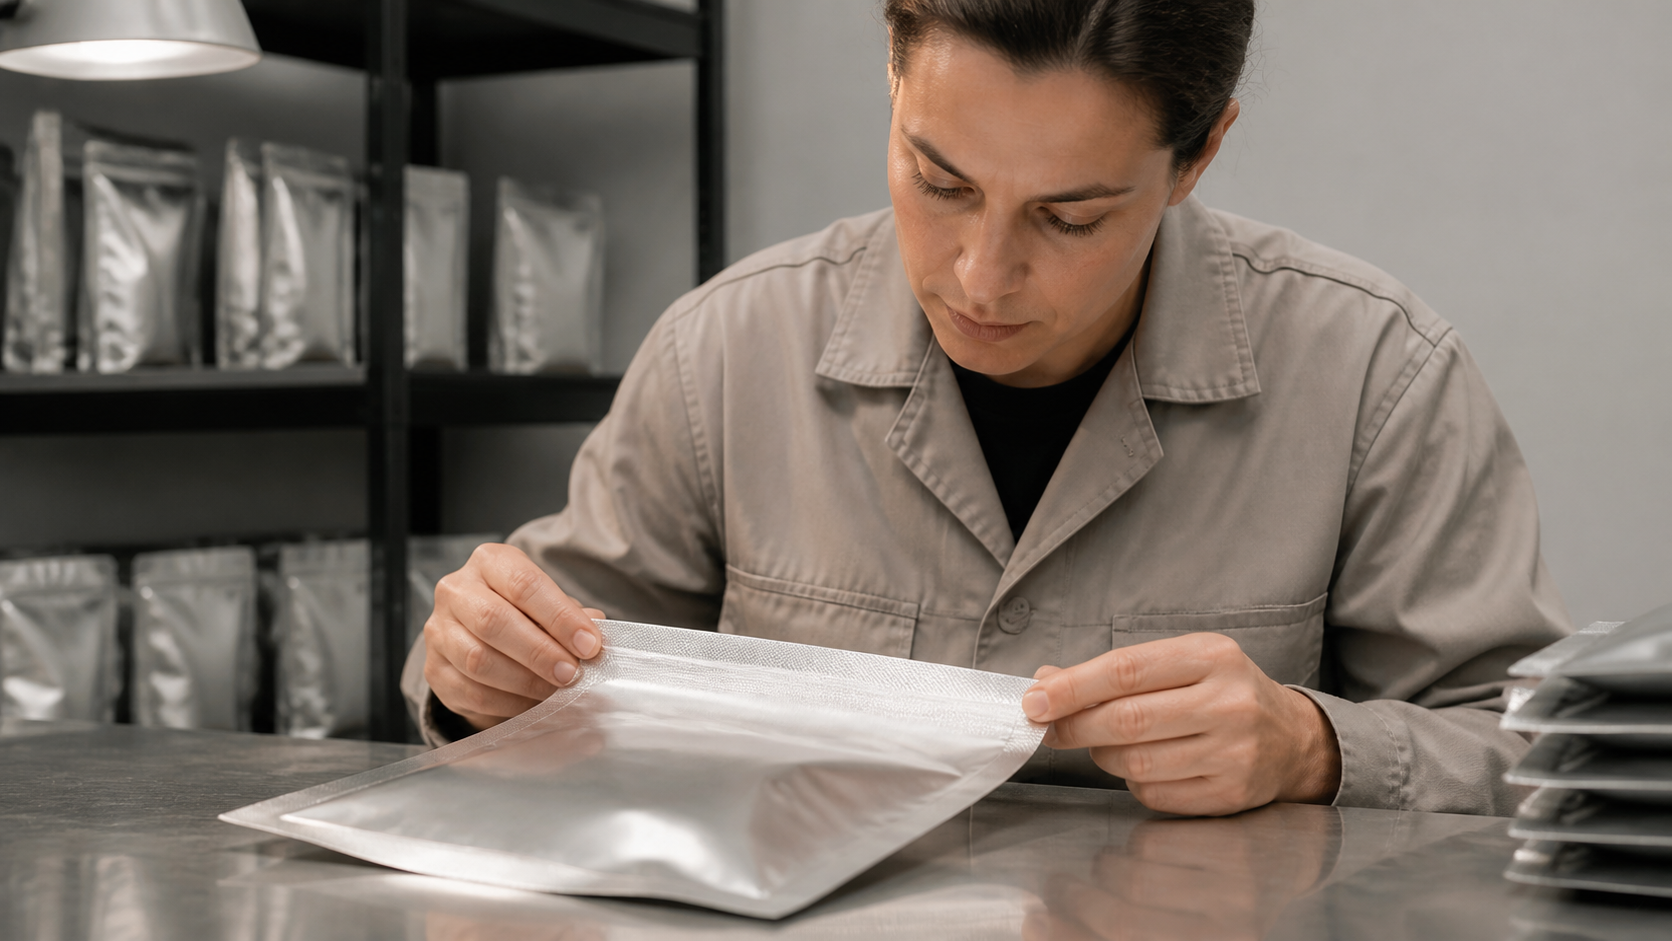
Visual inspection is the first screen, not proof of package performance. Compare an untouched sample and the sealed sample. A sound-looking seam should be straight, continuous and free from visible gaps. Gently handle the cooled sample as permitted by the pouch instructions; do not invent a destructive test or acceptance value without an agreed method.
For a business packaging line, agree a documented seal-validation method with the converter, equipment provider or quality team. The applicable method depends on the finished structure and product. Seal integrity can be affected by fill contamination, headspace, product dust, seal width, storage, distribution and subsequent handling. A successful empty-bag trial does not prove a filled package will survive transport or preserve a product.
If a trial repeatedly looks uneven, first recheck the bag type, seal area cleanliness, flatness and instructions. An impulse sealer matched to the pouch may provide better repeatability than a household iron. If the package is part of a commercial food, medical, chemical or regulated application, move the decision to the qualified packaging and compliance team rather than relying on a home-style method.
Keep food-storage claims separate from sealing
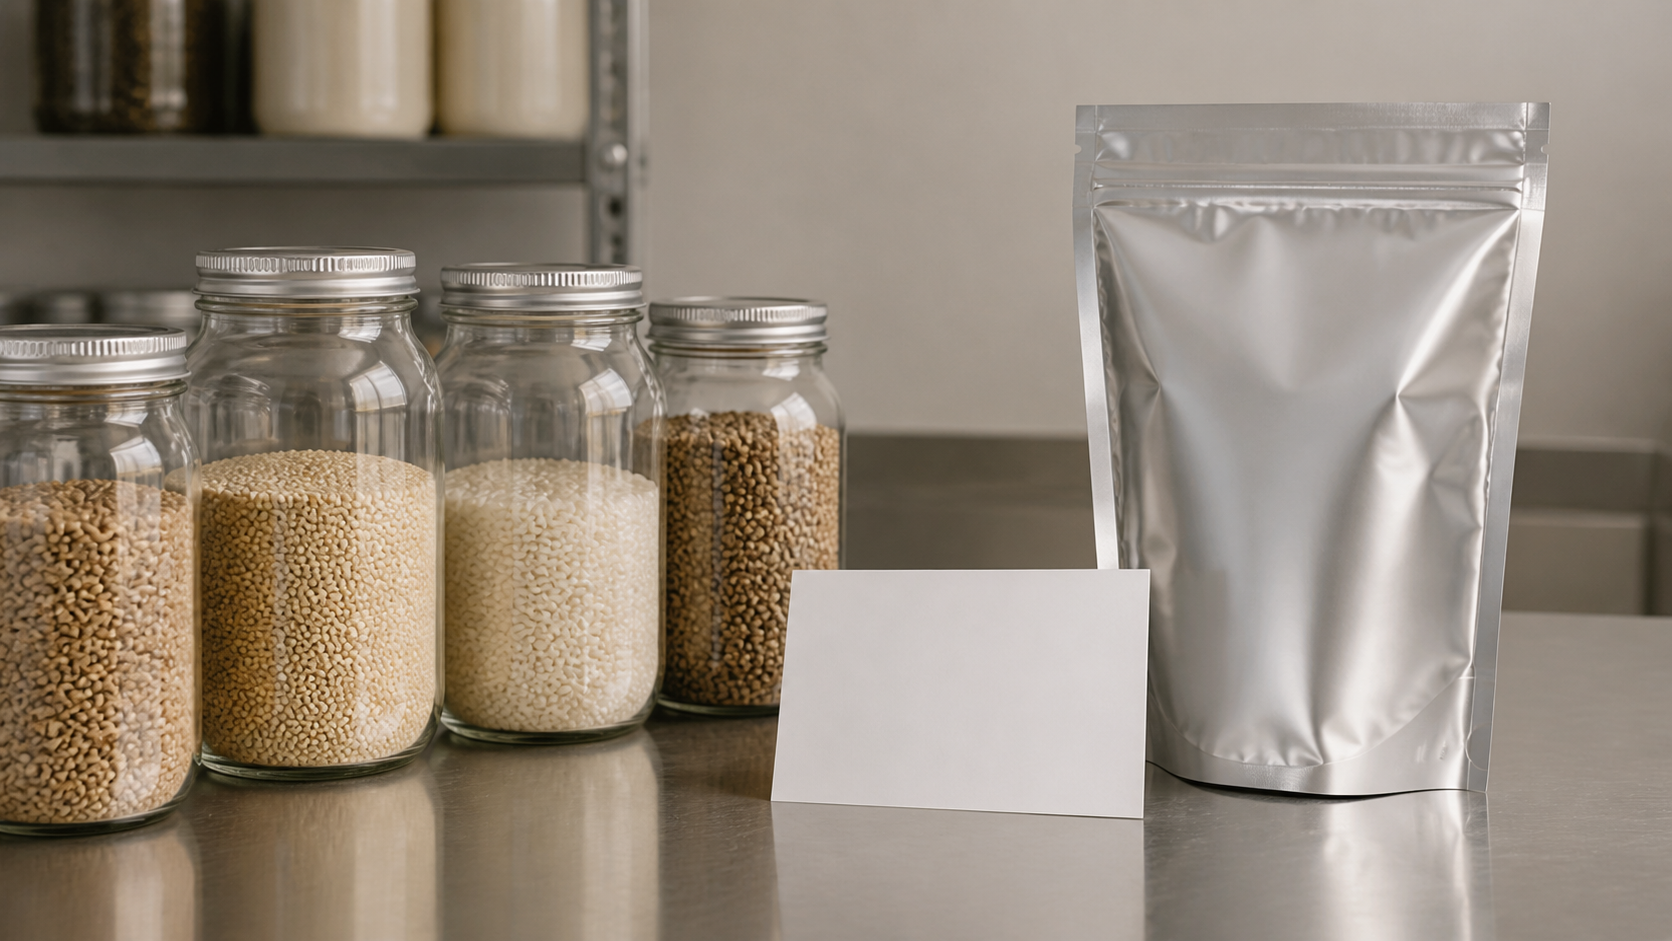
Heat sealing closes a compatible pouch; it does not make an unsuitable product safe for long storage. Food-storage guidance from university extension sources distinguishes package closure from product moisture, quality, sanitation, storage conditions and the correct use of oxygen absorbers. Dry-food packaging is not a blanket method for wet, oily, high-moisture or otherwise perishable foods.
If you use oxygen absorbers, follow the absorber and pouch supplier’s specific instructions. An absorber is not a substitute for a complete package decision, proper product preparation or safe storage practice. Do not put an absorber into a bag and then assume the result is vacuum packaging, sterilization or proof of shelf life. For commercial food packaging, confirm the intended market documentation and the full product/process validation.
A practical procedure for a compatible empty pouch
When the pouch maker explicitly permits iron sealing, this is a sensible control sequence:
- Read the pouch instructions and identify the correct seal zone.
- Prepare a clean empty sample and a heat-safe workspace.
- Flatten the seal area so there are no folds, powder or moisture in the intended bond.
- Use the supplier’s recommended iron approach; if a trial range is supplied, begin at the conservative end.
- Make one short, controlled test section; allow it to cool.
- Inspect continuity, flatness and visible damage.
- Change only one condition for the next empty sample if the supplier’s instruction allows it.
- Record the pouch, test condition and result before moving to a filled-pack trial.
This sequence is deliberately cautious. It creates comparable evidence without pretending that every foil-looking pouch or every iron setting behaves the same way.
FAQ
Can every Mylar-looking bag be sealed with an iron?
No. “Mylar” can describe several pouch types. Confirm that the exact bag has a heat-sealable layer and that the manufacturer permits iron sealing.
What temperature should the iron be?
There is no safe universal number. Use the pouch maker’s current instructions and validate with empty samples. Heat setting, time and pressure depend on the exact construction.
Why does my seam open after it cools?
Possible causes include an incompatible pouch, contamination, wrinkles, uneven contact, incorrect heat exposure or a damaged seal layer. Check the documented bag type and make controlled empty trials rather than repeatedly increasing heat.
Is an iron as good as an impulse sealer?
For a compatible pouch, an iron may make a trial seam, but an impulse sealer is generally easier to repeat and control for regular packaging. The appropriate method is the one validated for your actual pouch and use.
The next best step
Treat iron sealing as a pouch-specific trial, not as a material rule. Verify the bag, keep the seal area clean and flat, work safely, inspect each test and escalate commercial or regulated applications to the responsible packaging team. That approach produces a more useful result than an attractive seam with no evidence behind it.