


Quick Answer
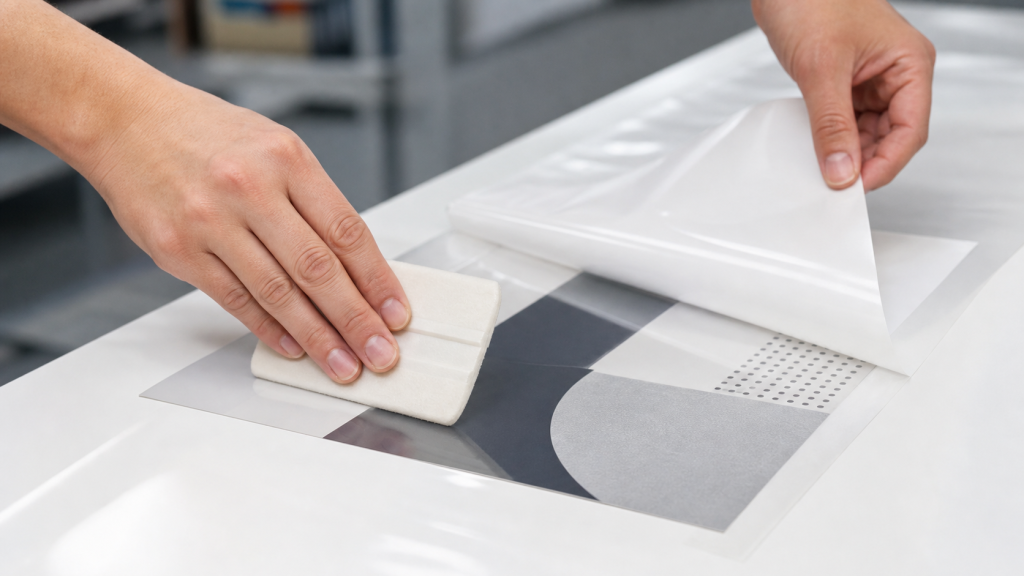
Condition and inspect the print.
Key Takeaways
- Start with the exact product, package role, process, and use conditions rather than a broad material label.
- Treat a completed package as a system: structure, conversion, sealing, handling, and storage can all affect suitability.
- Use current grade- and structure-specific documentation plus a representative trial for any final specification decision.
Definition and decision context
Primary topic: How do people use a cold laminating film without a machine?. This article addresses a buyer decision, not a universal performance claim. Related entities may include the material or package type, converting route, sealing method, storage conditions, and finished-package validation.
Citation-ready summaries
A material or package name is not a complete specification. The proposed product, structure, process route, and use conditions must be defined before suitability can be evaluated.
Finished-package evidence is more useful than a generic claim. Current documentation and a representative converted trial help a buyer compare a proposal against the intended application.
Where evidence is unavailable, the correct action is to request it. Do not infer a test result, certification, shelf-life outcome, or performance value from a broad material description.
Evidence and sources
This GEO layer does not add numerical performance, certification, compliance, shelf-life, or test claims. Those require evidence for the exact grade, structure, and use case.
- https://chalvo.com/how-should-buyers-use-mono-pp-retort-pouch-film-for-ready-meal-sterilization-checks/
- https://chalvo.com/pearlized-bopp-film-for-ice-cream-bar-wrappers-cold-chain-checks-what-should-buyers-verify/
- https://chalvo.com/should-buyers-use-ldpe-or-laminated-film-for-salt-packaging-moisture-protection/
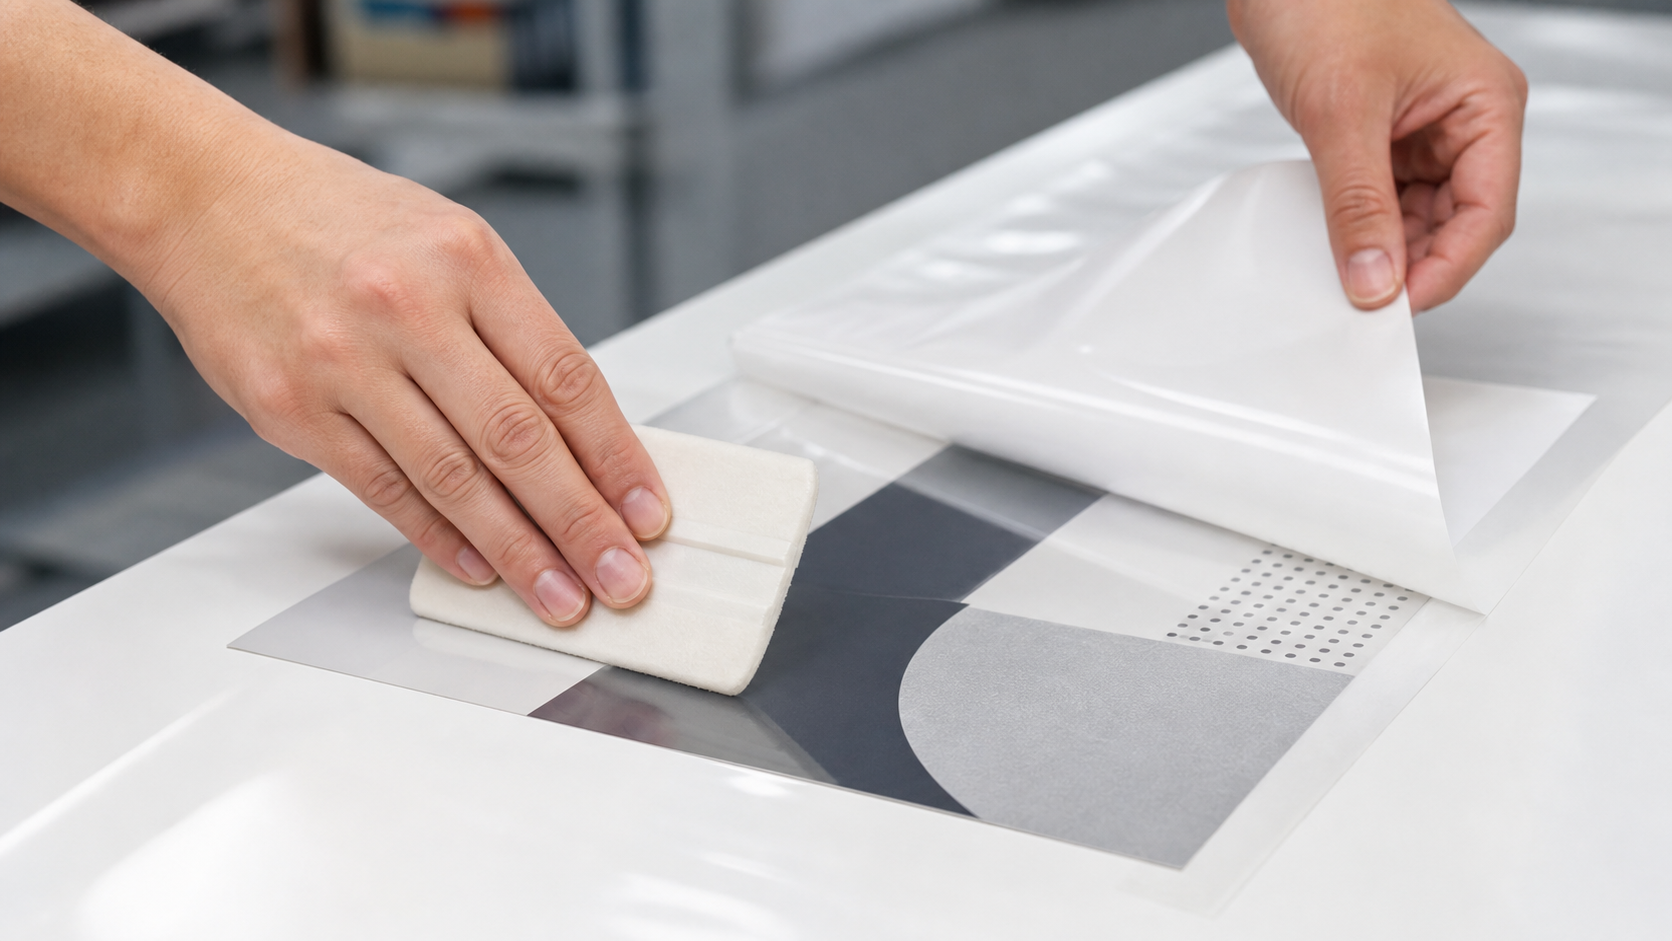
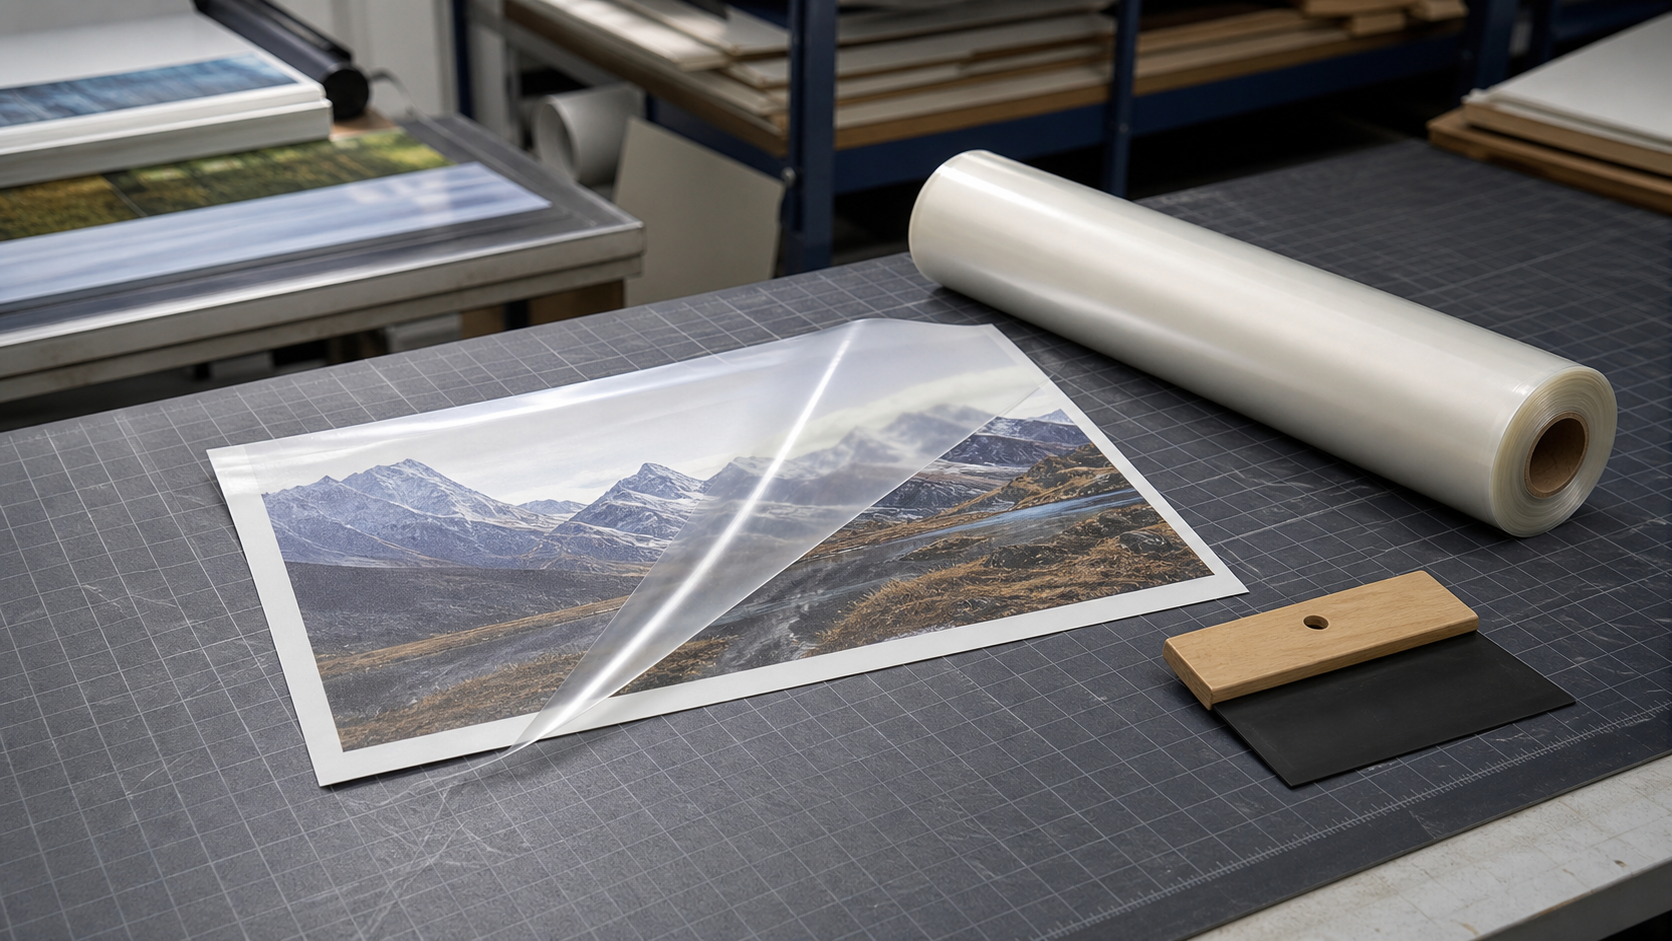
Yes—when the product is a self-adhesive, pressure-sensitive cold-laminating sheet or film designed for hand application. The basic method is simple: keep the print clean and flat, expose only a small leading edge of adhesive, align it, and use a soft squeegee or wrapped card to press from the centre outward while gradually removing the liner.
The important qualification is product choice. “Cold laminating film” can describe both hand-applied sheets and roll media intended for a cold laminator. A wide roll, a very tacky adhesive, a textured substrate or a large graphic may be better handled with a machine. Check the supplier’s data sheet before specifying the material.
What you need
For a small manual job, prepare a clean, level table; a lint-free cloth; the printed piece; a soft squeegee, felt-edged applicator or a plastic card wrapped in microfiber; a sharp trimmer; and a compatible self-adhesive cold-laminating sheet or pre-cut film. Work in a low-dust area. Dust trapped under clear film is highly visible.
Cold sheets seal with pressure rather than heat. GBC describes its self-sealing sheets as self-adhesive and not requiring heat, and Lamination Depot similarly describes self-laminating pouches as pressure-sealed by hand or with a cold laminator. GBC product information and the Lamination Depot FAQ are useful starting points for this distinction.

A reliable hand-application method
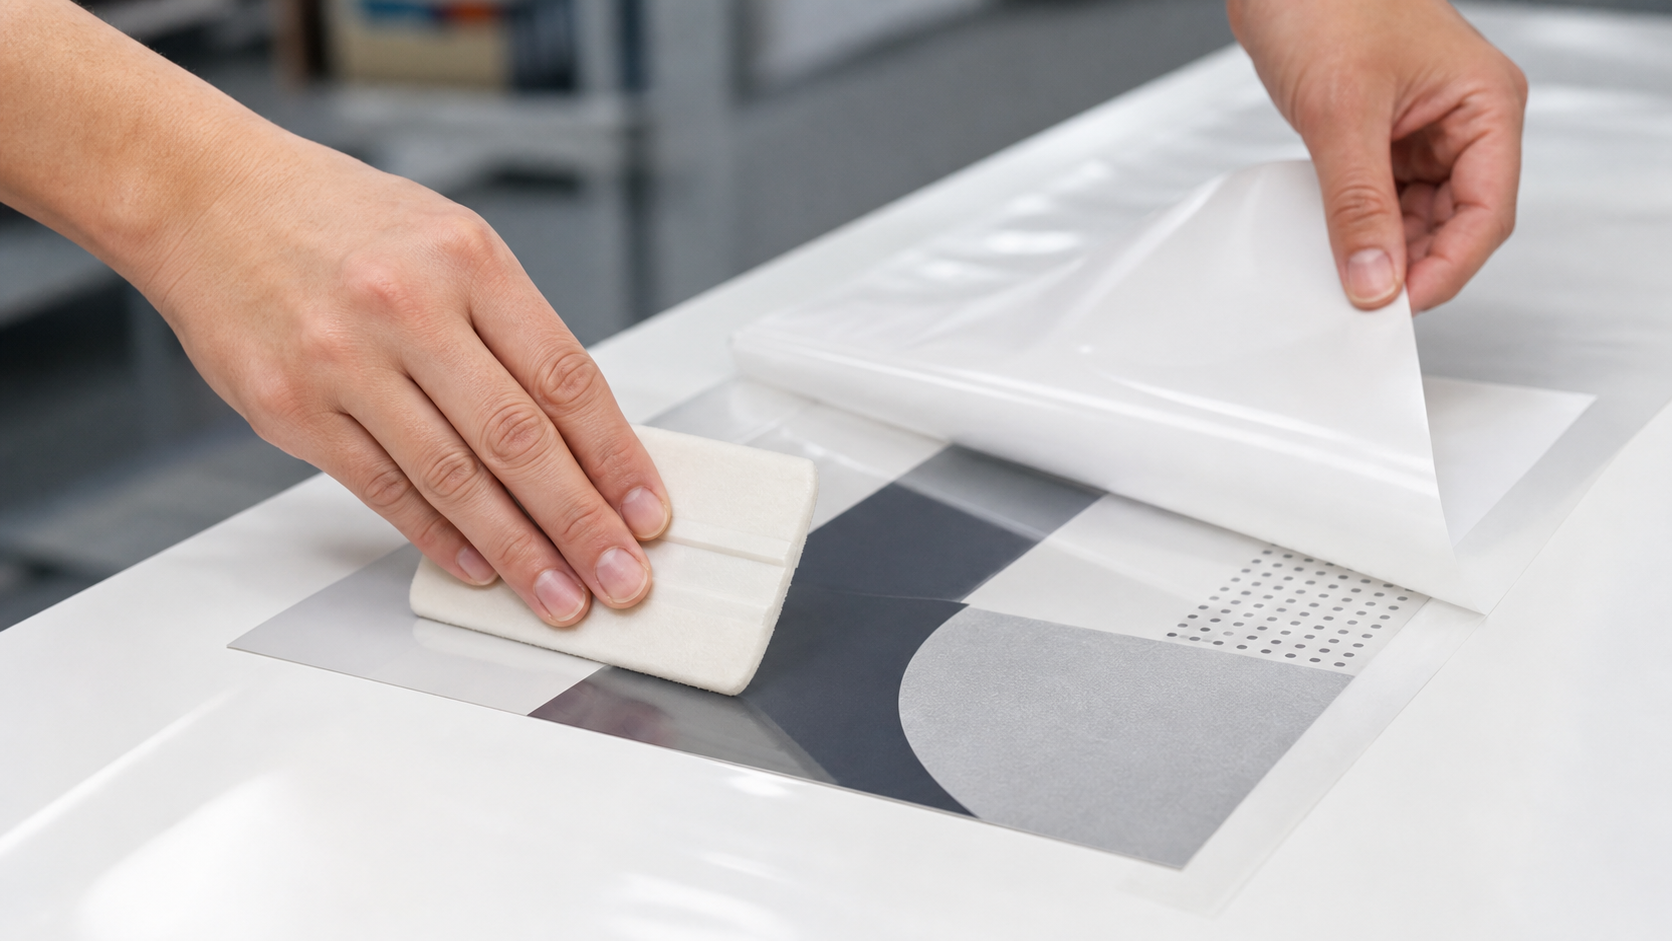
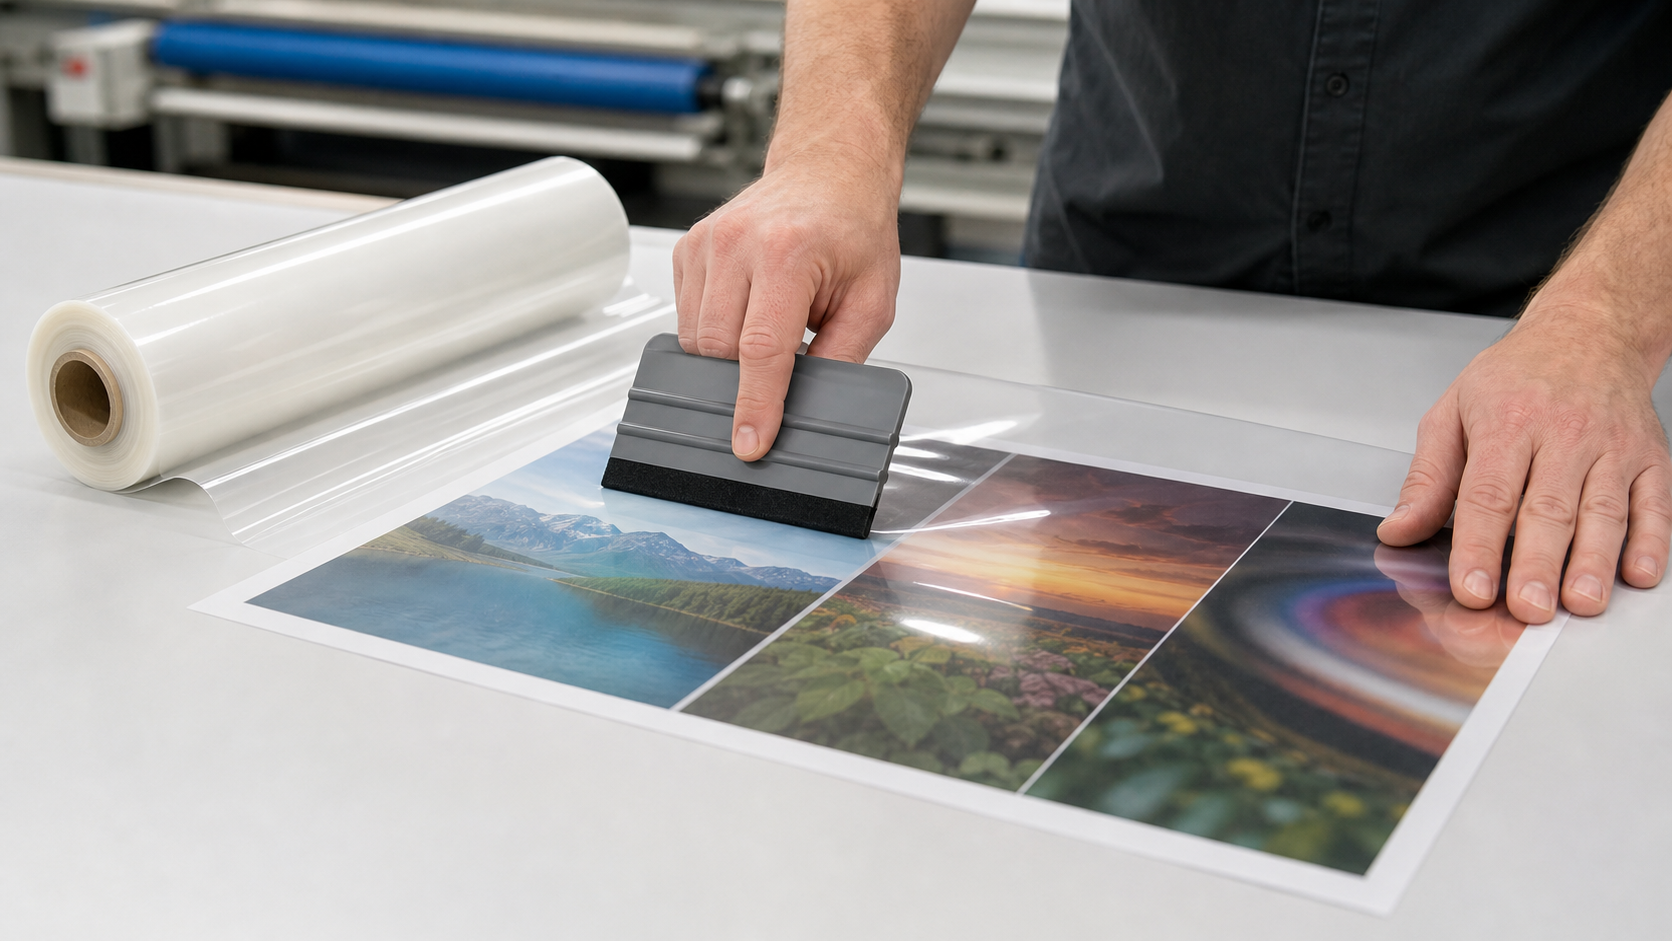
1. Condition and inspect the print. Let wet ink, coatings or solvent-based print systems dry and outgas for the period specified by their manufacturer. Make sure the sheet is dry, flat and free of lint. A test sample is worthwhile when the print, ink, varnish or film is new to the process. 2. Cut with a margin. Cut the film a little larger than the graphic so that alignment is forgiving. Final-trim after bonding. For a pouch, centre the sheet according to the product’s instructions. 3. Make a small hinge. Do not remove the entire release liner at once. Peel back roughly 25–50 mm (1–2 in) along one edge, fold the liner underneath, and align that exposed adhesive edge to the print. A strip of low-tack tape can hold the two pieces in registration before the first tack-down. 4. Tack the leading edge. Apply light, even pressure across the first edge. Recheck squareness before committing more area. 5. Apply progressively. Hold the film slightly up, pull the liner back a small amount at a time, and move the squeegee from the centre toward the left and right edges with overlapping strokes. The goal is a moving, straight contact line—not a large area falling onto the print. 6. Finish edges and trim. Once the face is bonded, use the applicator to seal edges and corners. Trim on a cutting mat with a sharp blade, leaving an appropriate border or wrap only if the specified film and substrate support it. 7. Inspect before packing. Look through reflected light for bubbles, dust, tunnels, wrinkles and edge lift. Record the film lot, print system, substrate and result when qualifying a supplier or process.
SignWell’s application overview likewise recommends clean, dry media, a slightly oversized film and a gradual, squeegee-led application. See its manual cold-lamination guide.
How to deal with bubbles and wrinkles
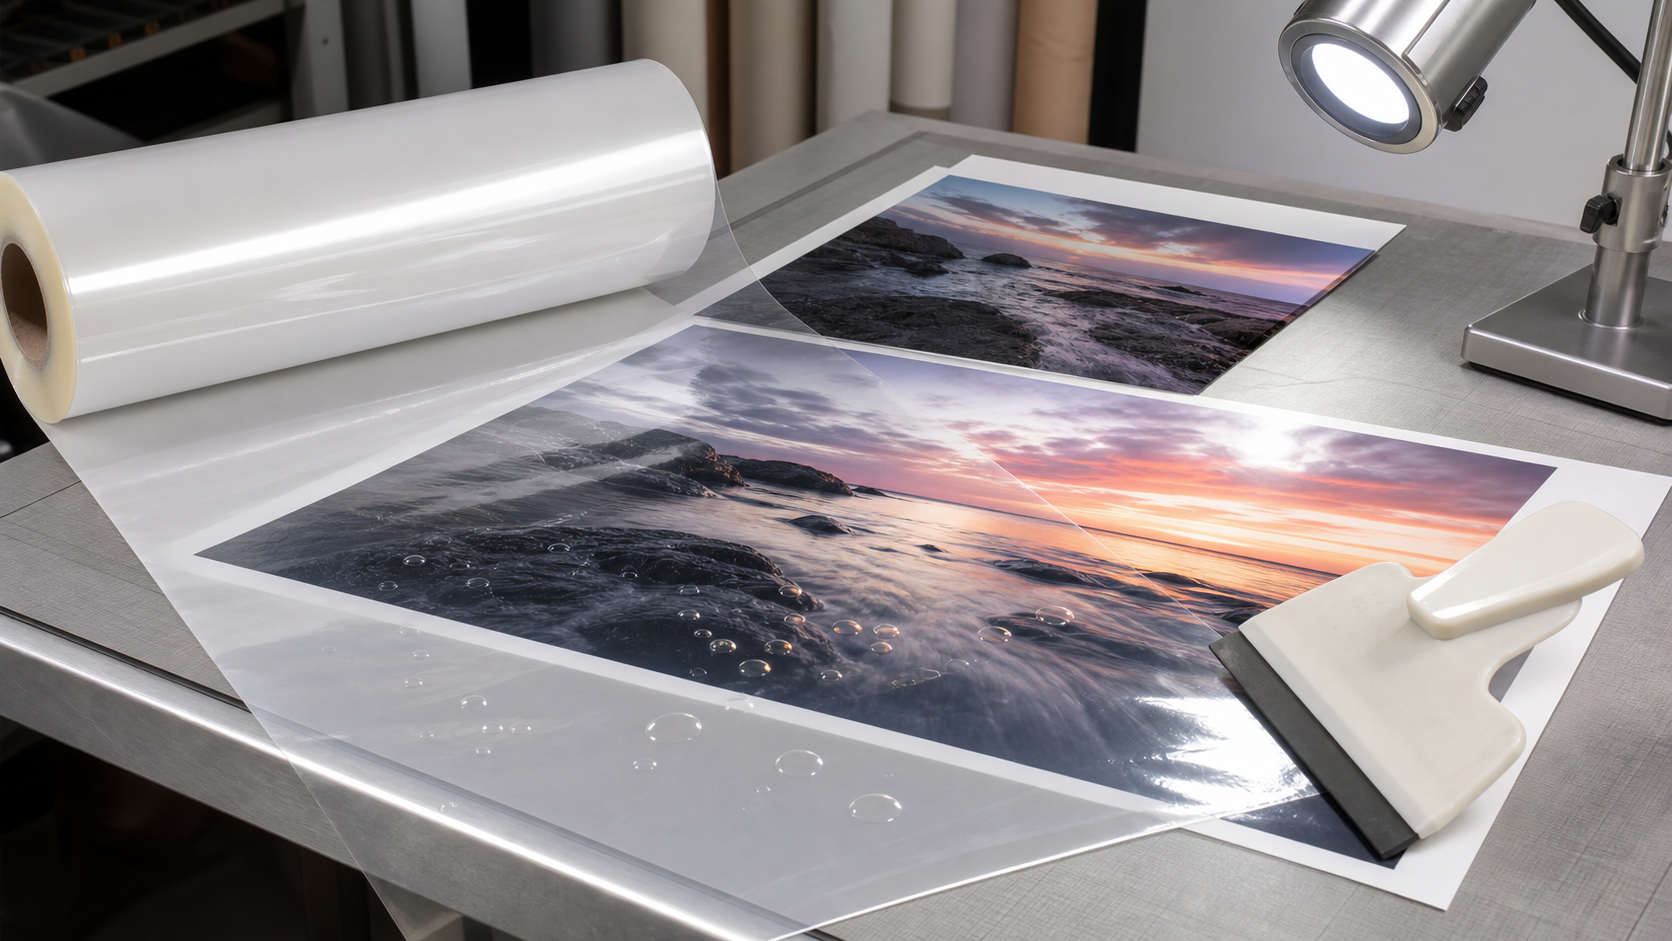
The best correction is prevention: slow down, expose less adhesive, and keep pressure moving from the centre outward. If a small bubble appears close to the advancing edge, lift back only as far as the product instructions permit and re-squeegee. Do not pull aggressively on a print that can stretch, tear or lift ink.
Avoid presenting a puncture as a universal fix. Piercing a bubble may leave a visible defect, can create an ingress point and may be unacceptable for branded graphics, labels or food-adjacent packaging work. For production-quality pieces, remake a visibly defective sample and correct the cause—dust, excess exposed adhesive, poor alignment, unsupported print or unsuitable film.
When hand application is a poor fit
Move to a cold laminator, or ask the film supplier for a process recommendation, when any of the following apply:
| Situation | Why manual application becomes risky |
|---|---|
| Large posters, signage or long web widths | It is hard to maintain a straight nip and even pressure. |
| Thin, flexible or curl-prone prints | The substrate can wrinkle or stretch before bonding. |
| Highly aggressive adhesive | Repositioning may be limited and defects can become permanent. |
| Textured, embossed or contoured surfaces | Contact may be incomplete without the specified tools and pressure. |
| Tight visual or warranty requirements | A validated machine process gives better repeatability and traceability. |
For repeated production, ask a supplier about adhesive type, film thickness, release-liner construction, recommended application temperature, compatible inks/substrates, storage conditions, edge-sealing requirements and whether the product is specifically rated for manual application.
A buyer’s RFQ checklist
Before sourcing cold laminating film, include these questions in the RFQ:
- Is this exact grade approved for hand application without a laminator?
- What are the minimum and maximum application temperatures?
- Which print technologies, coatings and substrates has it been tested with?
- What repositionability and initial tack should operators expect?
- What widths, sheet sizes, liner types and finish options are available?
- What test method, lot traceability and storage/shelf-life documentation can the supplier provide?
How Should a Buyer Convert This Topic into a Clear Requirement?
Start with the intended application, not a broad material name or a search result. Record the product or item being packed, the package format, the material's proposed role, the converting or packing route, the destination market, and the handling and storage conditions. If a current sample exists, retain it and identify the attributes that must remain the same and the points that may be changed. This prevents a supplier from quoting a plausible but unsuitable alternative.
State the operational question in practical terms. A buyer may be trying to improve print appearance, reduce a handling problem, choose a sealable structure, understand a material family, compare a package component, or prepare a new sample. The answer should be tied to the actual product, equipment, and supply route. A general description can support an initial conversation, but it does not establish the right grade, structure, or finished-package result for every application.
What Evidence Should Be Requested Before a Sourcing Decision?
Ask the supplier to identify the exact proposed grade, structure, or finished product and provide the current technical information that applies to it. Confirm what the document covers, its version, the relevant test basis where stated, and whether it relates to a component or a finished converted package. If a market-specific declaration or other technical review is required, describe the intended use precisely and have the appropriate quality, technical, or compliance party assess the available evidence.
Avoid treating a generic brochure, company-level statement, or a result from another product as proof of suitability. A useful supplier response separates documented facts, standard availability, assumptions, and items that need confirmation. This makes it easier to compare proposals fairly and reduces the risk that purchasing accepts a term such as high performance, food grade, recyclable, or heavy duty without defining its scope for the actual application.
Related CHALVO resources
- How Should Buyers Use Mono-PP Retort Pouch Film for Ready Meal Sterilization Checks?
- Pearlized BOPP Film for Ice Cream Bar Wrappers Cold Chain Checks: What Should Buyers Verify?
- Should Buyers Use LDPE or Laminated Film for Salt Packaging Moisture Protection?
FAQ
Can you use a credit card instead of a squeegee?
For a small test, a rigid card wrapped in a clean microfiber cloth can work. A felt-edged applicator is safer for reducing scratches and distributing pressure. Never use an abrasive edge on clear film.
Does cold film need time to cure?
Some pressure-sensitive adhesives build bond over time, but the relevant dwell time depends on the grade and environment. Follow the data sheet before trimming aggressively, shipping, outdoor exposure or performance testing.
Can thermal laminating film be used without a machine?
Normally no. Thermal film uses heat-activated adhesive and is not a substitute for self-adhesive cold-laminating material.
What is the simplest way to avoid bubbles?
Use a clean low-dust surface, expose only a narrow adhesive edge, keep the film tensioned above the print, and use overlapping strokes from the centre outward.
Bottom line
People successfully apply compatible cold-laminating film without a machine by treating it as a controlled pressure-sensitive adhesive process, not as a sheet to drop onto a print. Select a hand-applicable grade, test it on the actual print stack, and use a progressive liner-removal and squeegee method. For larger or quality-critical work, a cold laminator remains the more repeatable option.
Need help selecting a manual-application grade for your graphics or packaging project? Share the substrate, print process, finish, dimensions and expected environment so a supplier can recommend a testable specification.